Welcome to Ampinvt !
Step-by-Step Installation Guide for PV MPPT Controllers: Unlocking Solar Power Efficiency
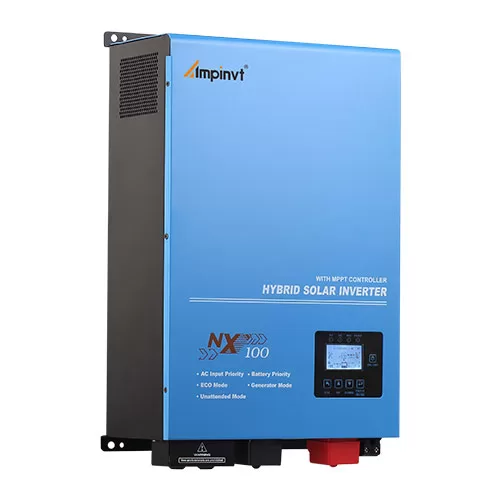
In the realm of solar energy, maximizing power output is paramount. Photovoltaic (PV) MPPT controllers emerge as the key to unlocking this potential, harnessing the sun’s energy with unmatched efficiency. Whether you’re a seasoned installer or an aspiring DIYer, this comprehensive guide will illuminate the path to seamless PV MPPT controller installation.
Step 1: Preparations
Gather your tools and materials: a compatible PV MPPT controller, a suitable solar panel array, appropriate wiring, a battery, and necessary safety gear (gloves, glasses). Plan the system layout, ensuring ample space for connections and ventilation.
Step 2: Connecting the Solar Panels
Carefully connect the solar panels to the PV MPPT controller using the designated input terminals. Observe polarity and tighten the connections securely. The number of panels and the wiring configuration will depend on your specific system design.
Step 3: Wiring the Battery
Connect the positive terminal of the battery to the battery terminal on the MPPT controller. Similarly, connect the negative terminal of the battery to the corresponding terminal on the controller. Ensure the connections are firm and free of any loose strands.
Step 4: Load Connections
Determine the type and wattage of your electrical loads that will be powered by the solar system. Connect these loads to the appropriate output terminals on the PV MPPT controller. Proper sizing of the controller and load management are crucial for efficient operation.
Step 5: Grounding and Safety
Install an appropriate grounding rod and connect the grounding terminal on the MPPT controller using a copper wire. This step ensures electrical safety and protects against lightning or other surges. Wear appropriate protective gear throughout the installation process.
Step 6: Configuration and Monitoring
Configure the PV MPPT controller according to the manufacturer’s instructions. Set the charge and discharge parameters, system voltage, and other settings to optimize performance. Monitor the system regularly using the controller’s display or remote monitoring tools to ensure optimal operation and battery maintenance.
Conclusion
With this step-by-step guide as your compass, you can navigate the installation of PV MPPT controllers with confidence. By following these instructions, you’ll empower your solar system to harness the sun’s energy with exceptional efficiency, unlocking the full potential of clean and renewable power.
COMPANY
PRODUCTS