Welcome to Ampinvt !
The Step-by-Step Installation Guide for Lithium MPPT Solar Controllers is a comprehensive guide that provides detailed instructions for installing and configuring lithium MPPT solar controllers. This guide is essential for solar installers and homeowners who want to maximize the efficiency and performance of their solar energy systems.
A lithium MPPT solar controller consists of several key components:
Solar panels: The solar panels convert sunlight into electricity.
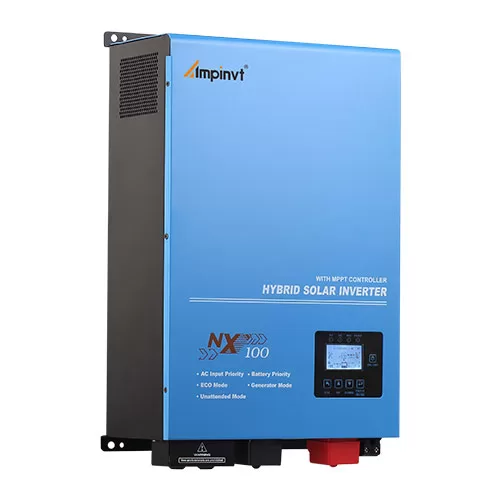
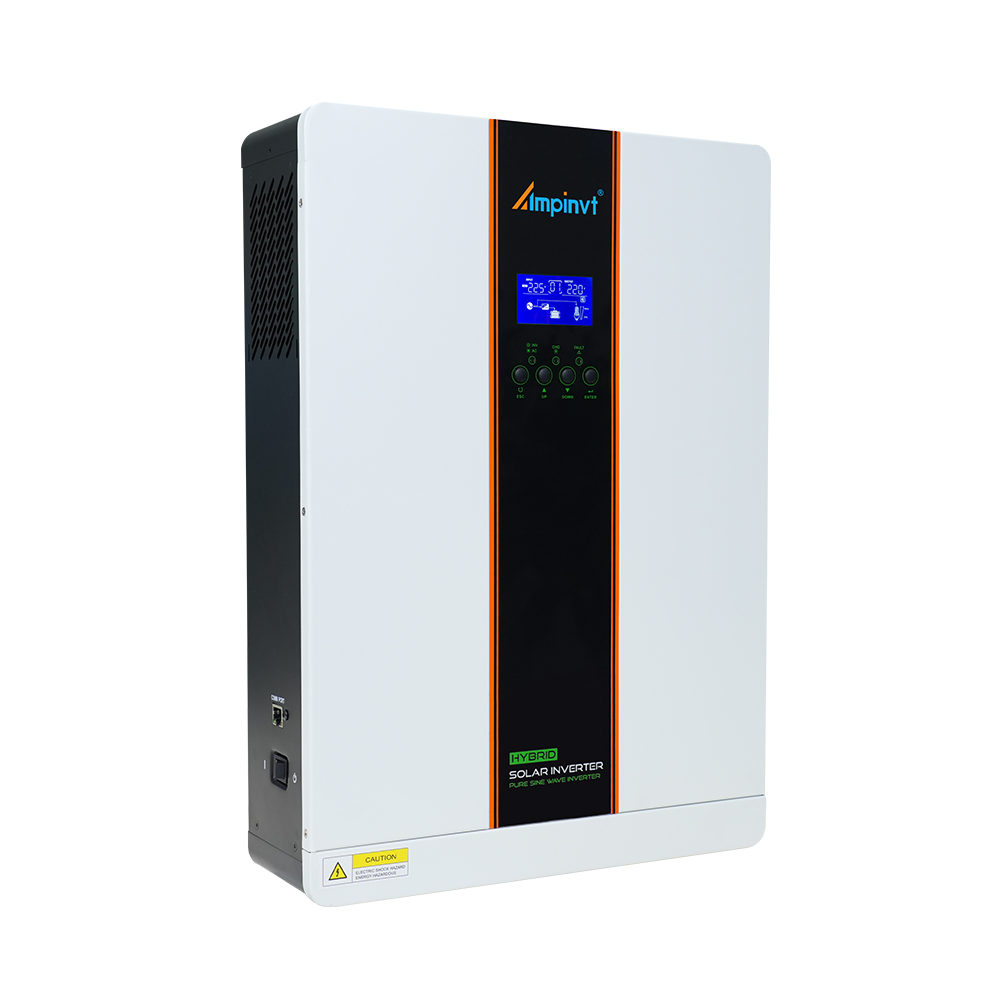
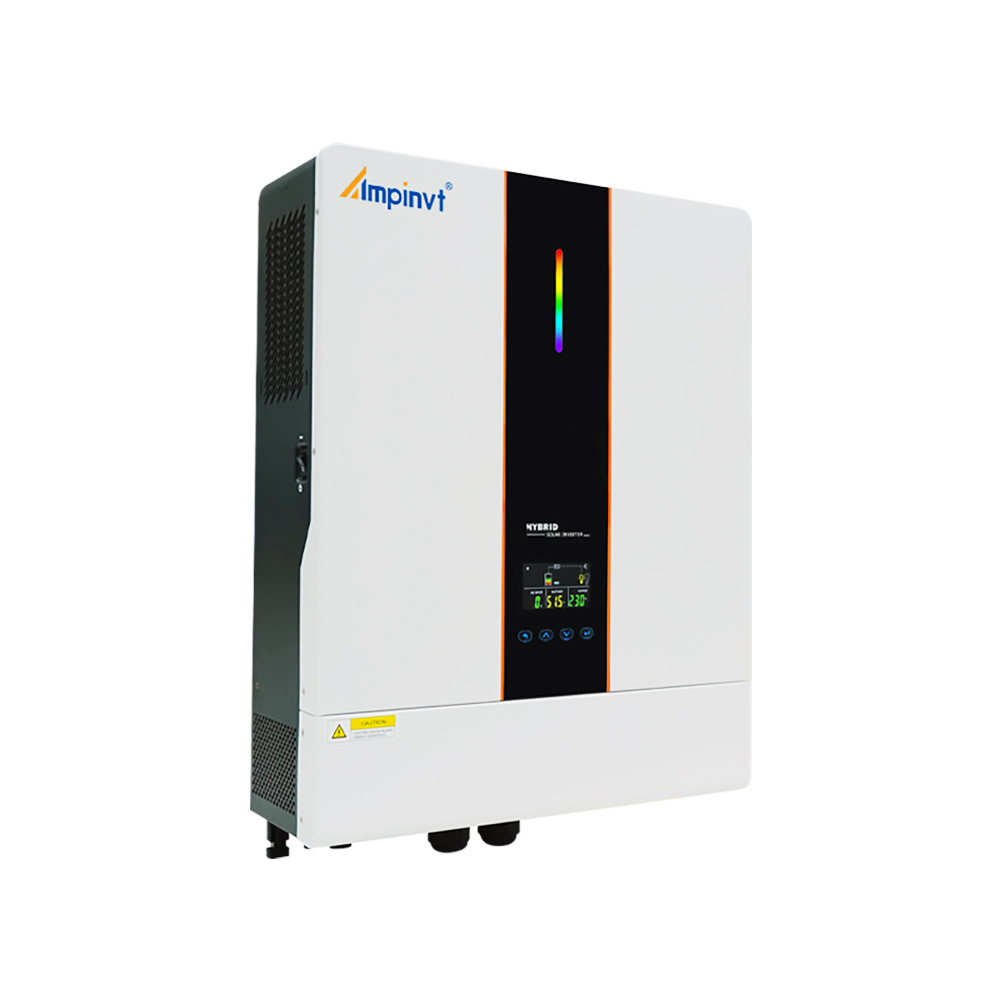
MPPT controller: The MPPT controller regulates the voltage and current from the solar panels to optimize the power output.
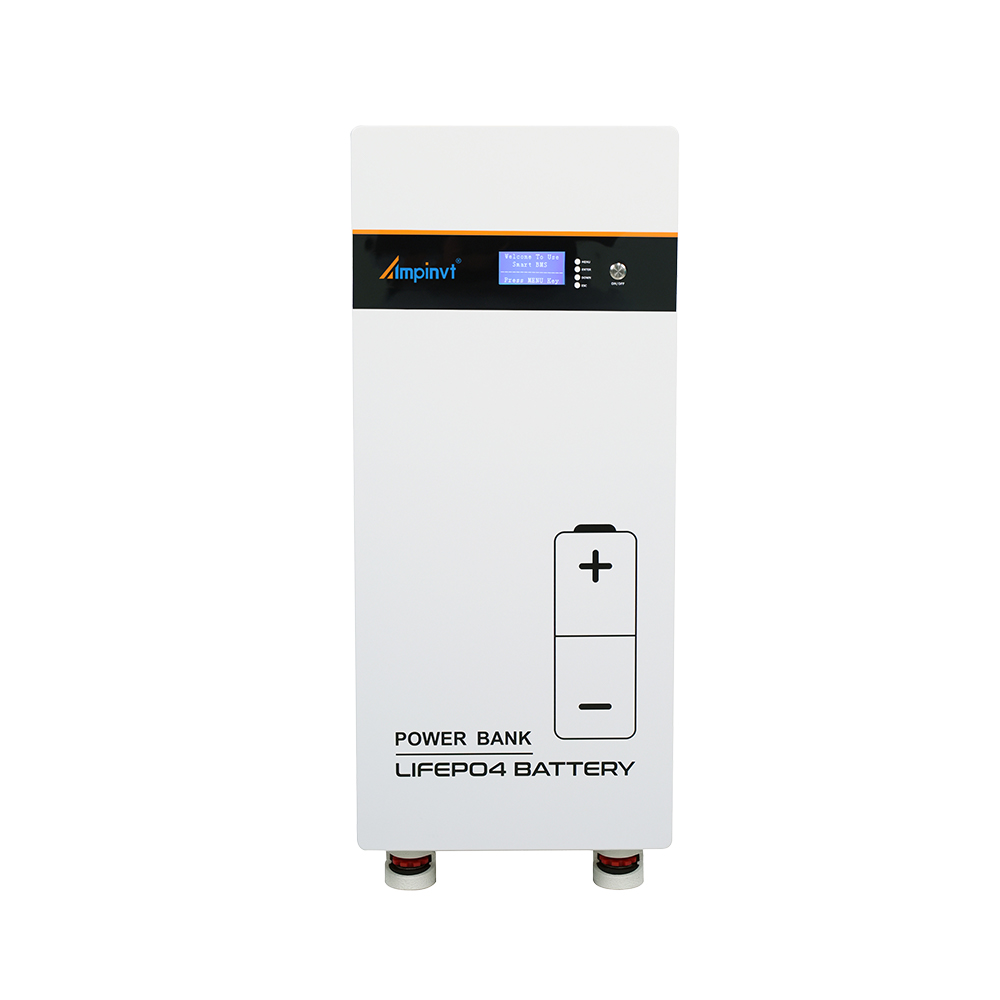
Lithium battery: The lithium battery stores the electricity generated by the solar panels.
Lithium MPPT solar controllers offer several advantages over traditional solar controllers:
Higher efficiency: Lithium MPPT controllers can convert up to 98% of the available solar energy into electricity.
Longer battery life: Lithium batteries have a longer lifespan than lead-acid batteries, typically lasting for 10-15 years.
Faster charging: Lithium batteries can be charged more quickly than lead-acid batteries.
Smaller size and weight: Lithium batteries are smaller and lighter than lead-acid batteries, making them easier to install and transport.
The following steps provide a step-by-step guide for installing and configuring a lithium MPPT solar controller:
1. Safety Precautions
Before beginning the installation, always wear safety glasses and gloves. Ensure that the solar panels are not connected to any electrical source.
2. Site Preparation
Choose a location for the solar panels that receives maximum sunlight. Mount the solar panels securely on a sturdy mounting system.
3. Wiring the Solar Panels
Connect the positive and negative terminals of the solar panels to the corresponding terminals on the MPPT controller. Use the appropriate wire gauge and follow the manufacturer’s instructions.
4. Connecting the Lithium Battery
Connect the positive and negative terminals of the lithium battery to the corresponding terminals on the MPPT controller. Again, use the appropriate wire gauge and follow the manufacturer’s instructions.
5. Configuring the MPPT Controller
Configure the MPPT controller according to the manufacturer’s instructions. This typically involves setting the battery type, voltage, and charging parameters.
6. Testing the System
Once the MPPT controller is configured, test the system by connecting a voltmeter to the battery terminals. The voltmeter should read the proper voltage for the battery type.
By following these steps carefully, you can ensure a safe and successful installation of your lithium MPPT solar controller.
COMPANY
PRODUCTS