Welcome to Ampinvt !
In the realm of solar energy systems, charge controllers play a crucial role in regulating the flow of electricity between solar panels and batteries. Among the various types of charge controllers available, Mini Maximum Power Point Tracking (MPPT) charge controllers offer exceptional efficiency and versatility for small-scale solar setups. This step-by-step guide will provide a comprehensive overview of the installation process for a Mini MPPT charge controller, empowering you to optimize your solar power system.
Before embarking on the installation, it’s essential to gather the necessary materials, including:
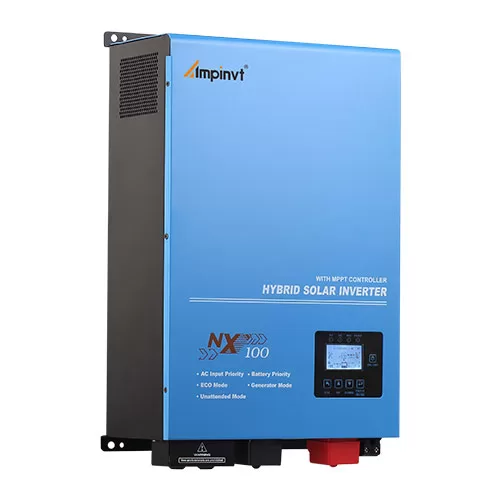
Mini MPPT charge controller
Solar panels
Batteries
Wire strippers
Electrical tape
Crimping tool (optional)
Multimeter (optional)
It’s also important to ensure that you have adequate knowledge of electrical wiring and safety precautions before attempting the installation.
Identify the positive and negative terminals on the solar panels and charge controller.
Strip approximately 1/4 inch of insulation from the ends of the solar panel wires.
Connect the positive wire from the solar panels to the positive terminal on the charge controller.
Connect the negative wire from the solar panels to the negative terminal on the charge controller.
Secure the connections using electrical tape or crimps.
Similar to the solar panel connections, identify the positive and negative terminals on the batteries and charge controller.
Strip the insulation from the battery wires.
Connect the positive battery wire to the positive terminal on the charge controller.
Connect the negative battery wire to the negative terminal on the charge controller.
Again, secure the connections using electrical tape or crimps.
Most Mini MPPT charge controllers offer voltage selection options for 12V or 24V systems.
Ensure that you select the correct voltage setting based on your battery bank configuration.
Incorrect voltage selection can damage the controller or batteries.
Once all connections are secure, power up the charge controller.
You should observe activity on the controller’s LED indicators, confirming proper operation.
Use a multimeter (optional) to verify voltage readings at various points in the system to ensure correct operation.
Monitor the charge controller’s performance regularly to ensure optimal charging.
If you encounter any issues, refer to the manufacturer’s documentation or consult with an experienced electrician.
Common troubleshooting steps include checking connections, verifying voltage settings, and resetting the controller.
By following these steps diligently, you can successfully install and operate a Mini MPPT charge controller, maximizing the efficiency and longevity of your solar power system. Remember to prioritize safety and seek assistance from qualified professionals if needed.
COMPANY
PRODUCTS