Welcome to Ampinvt !
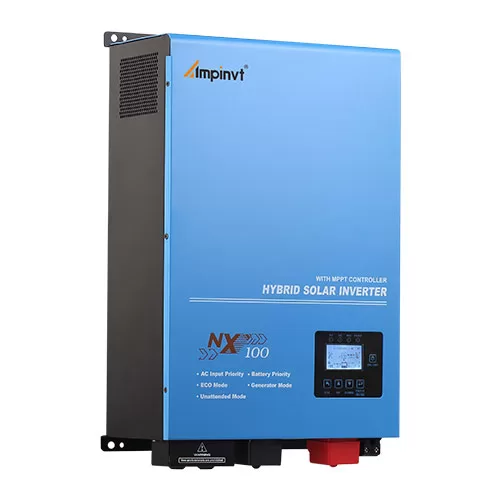
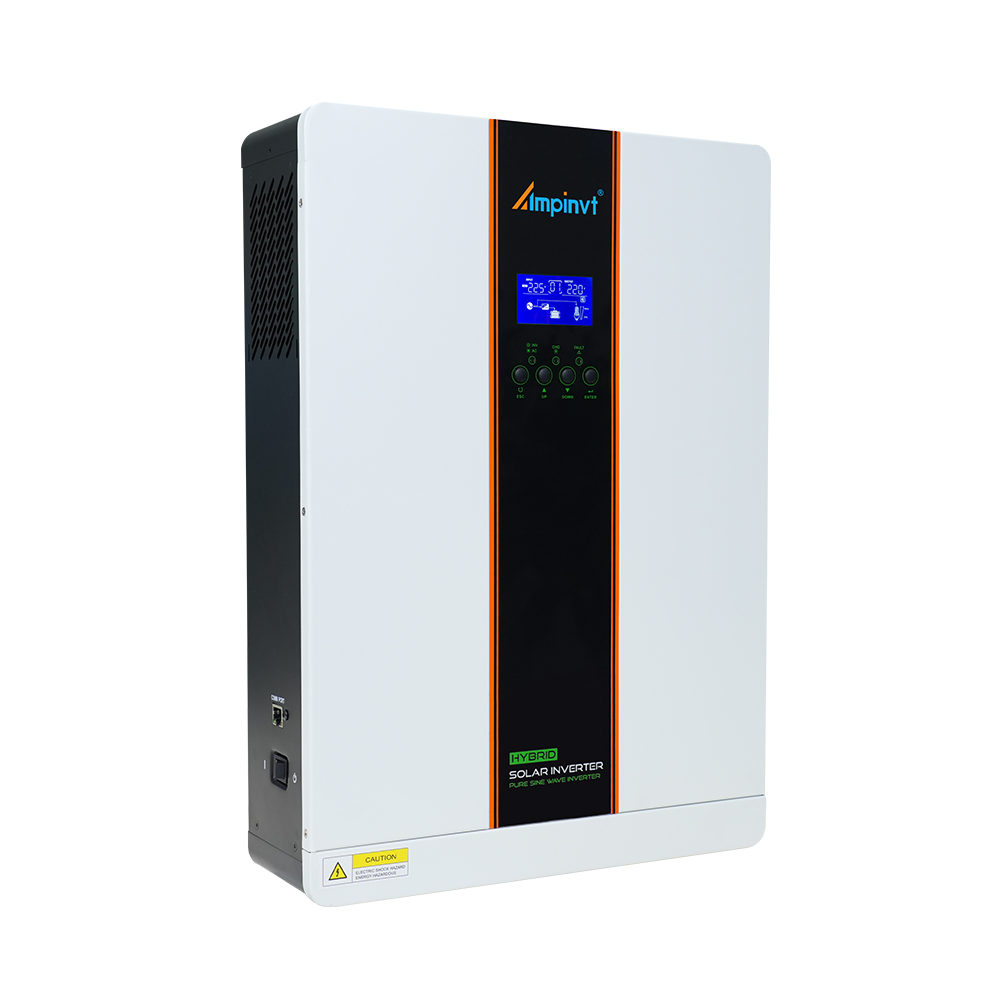
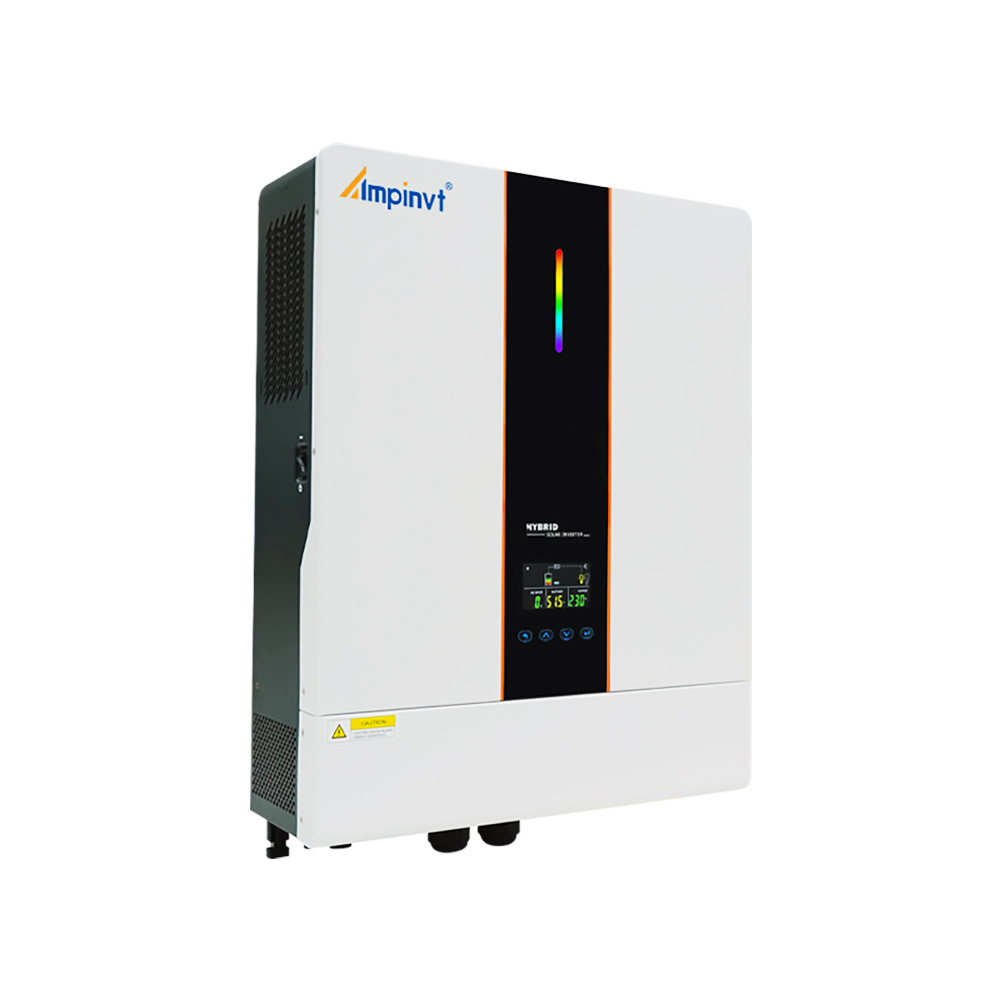
The MPPT hybrid controller is a device that allows you to connect your solar panels and batteries to your home’s electrical system. It uses maximum power point tracking (MPPT) technology to maximize the amount of power that is generated from your solar panels. This can result in significant savings on your electric bill.
Materials Needed
Before you begin, you will need the following materials:
MPPT hybrid controller
Solar panels
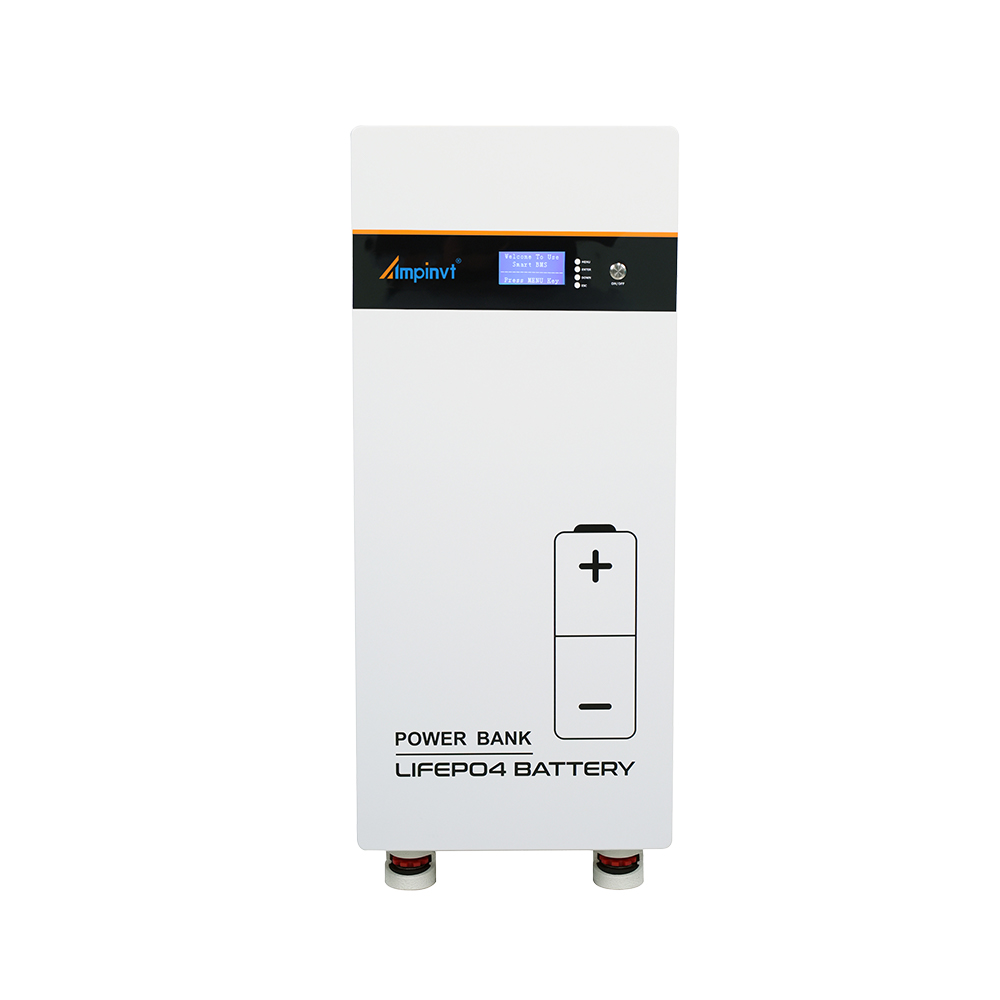
Batteries
Electrical wire
Wire connectors
Tools
Installation
1. Choose a location for the controller. The controller should be installed in a dry, well-ventilated location. It should also be protected from direct sunlight.
2. Mount the controller. The controller should be mounted on a wall or other surface using the provided mounting brackets.
3. Connect the solar panels to the controller. The solar panels should be connected to the controller using the provided cables.
4. Connect the batteries to the controller. The batteries should be connected to the controller using the provided cables.
5. Connect the controller to the home’s electrical system. The controller should be connected to the home’s electrical system using the provided cables.
Configuration
Once the controller is installed, you will need to configure it. The configuration process will vary depending on the specific controller that you have. However, the following general steps will apply to most controllers:
1. Set the battery type. The controller needs to know what type of batteries you are using. This will affect the way that the controller charges and discharges the batteries.
2. Set the solar panel voltage. The controller needs to know the voltage of your solar panels. This will affect the way that the controller charges the batteries.
3. Set the load voltage. The controller needs to know the voltage of the loads that you will be connecting to the system. This will affect the way that the controller discharges the batteries.
4. Set the charging parameters. The controller needs to know how to charge the batteries. This includes settings such as the charge rate and the charge voltage.
5. Set the discharging parameters. The controller needs to know how to discharge the batteries. This includes settings such as the discharge rate and the discharge voltage.
Once you have configured the controller, it will be ready to use. You can now monitor the system’s performance using the controller’s display or by connecting it to a computer.
COMPANY
PRODUCTS