Welcome to Ampinvt !
DIY Solar Projects Using Constant Voltage MPPT Controllers: A Comprehensive Guide
Solar energy has become increasingly popular as a sustainable and cost-effective alternative to traditional energy sources. DIY solar projects using constant voltage Maximum Power Point Tracking (MPPT) controllers offer an accessible and efficient way to harness solar power for homes and small businesses.
Constant Voltage MPPT Controllers: An Overview
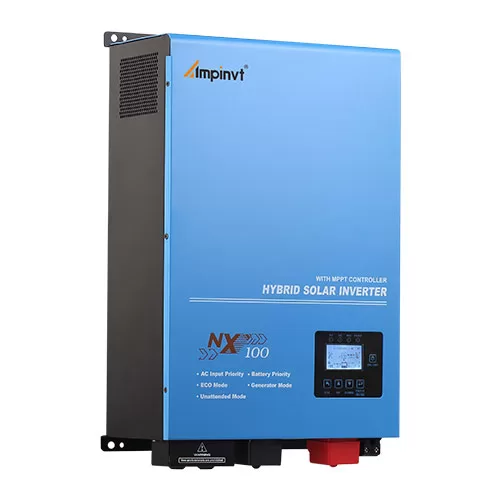
MPPT controllers are essential components in solar systems as they maximize the power output from solar panels by ensuring they operate at their optimal voltage, known as the maximum power point (MPP). Constant voltage MPPT controllers are specifically designed to maintain a constant voltage at the load, making them ideal for applications where a stable voltage is crucial, such as charging batteries.
Benefits of DIY Solar Projects
There are numerous advantages to embarking on DIY solar projects with constant voltage MPPT controllers:
– Cost-effective: Building your own solar system can significantly reduce the overall cost compared to purchasing a pre-made system.
– Educational: DIY projects provide an excellent opportunity to gain hands-on experience with solar technology and enhance your understanding of its fundamentals.
– Tailored to your needs: You can customize the system to meet your specific requirements, ensuring it aligns with your energy consumption patterns and budget.
– Environmental benefits: Solar energy is a clean and renewable source that reduces your carbon footprint and contributes to a greener future.
Sizing and Components
– Panel Size: Determine the required solar panel size based on your energy needs and the available sunlight at your location.
– Controller Rating: Choose an MPPT controller that can handle the current and voltage output of your solar panels.
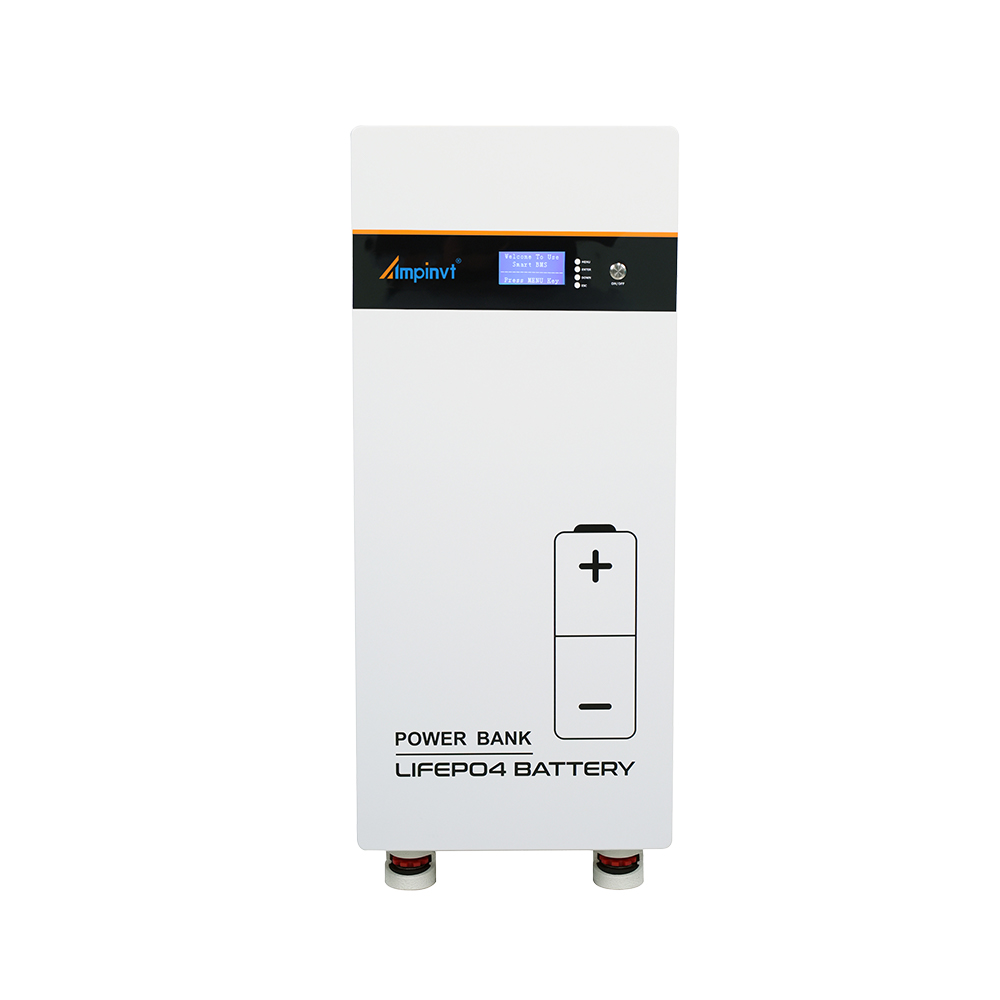
– Battery Bank: Select batteries that are compatible with the system voltage and provide sufficient storage capacity to meet your needs.
– Other Components: You will also need cables, connectors, and a rack system for mounting the panels.
Wiring and Installation
– Follow Safety Precautions: Ensure you follow all safety guidelines when working with electrical components.
– Connect Panels: Wire the solar panels in series or parallel to achieve the desired voltage and current output.
– Install Controller: Connect the MPPT controller between the panels and batteries.
– Battery Wiring: Connect the batteries to the controller as per the manufacturer’s instructions.
– Load Connection: Connect your electrical loads to the system output.
Troubleshooting and Maintenance
– Monitoring: Regularly monitor the system to ensure optimal performance and identify any potential issues.
– Clean Solar Panels: Remove dust and debris from the panels to maintain their efficiency.
– Battery Maintenance: Follow the manufacturer’s recommendations for battery maintenance and replacement to ensure their longevity.
– Controller Reset: If the controller malfunctions, reset it by disconnecting the battery and then reconnecting it.
Conclusion
DIY solar projects using constant voltage MPPT controllers empower you to harness the power of the sun while gaining invaluable experience and saving money. By following the steps outlined in this guide, you can create a customized, efficient, and environmentally friendly solar energy system that meets your specific needs.
COMPANY
PRODUCTS